 |
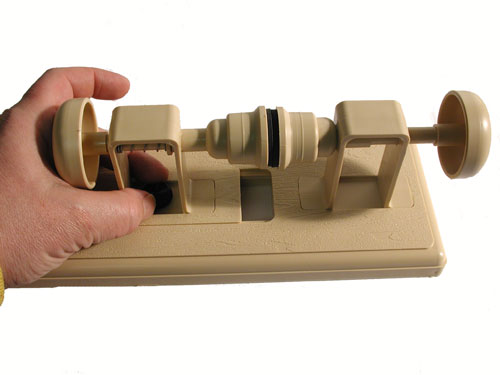
UNLOCK THE LATHE
Place the lathe on a flat surface. (If you wish to add more stabilitly,
there are 4 areas for self tapping screws on the bottom of the lathe base
to attach heavier wood base.) To open the lathe, turn the thumbscrew counter
clockwise until the screw is easy to turn. |
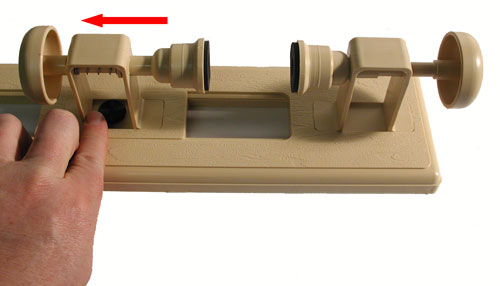 |
OPEN THE LATHE
Slide the back half of the lathe toward the end. Open the lathe
wide enough to easily accomodate the egg. |
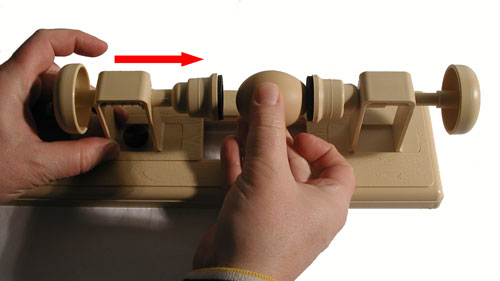 |
INSERT THE EGG
Place the narrow tip of the egg into the side of the lathe with the
smaller hole washer. The other side will have a washer with a larger hole.
Slide the back half of the lathe into the the other side of the egg. Try
to keep the egg straight, but you will be able to adjust the egg
in a later step. |
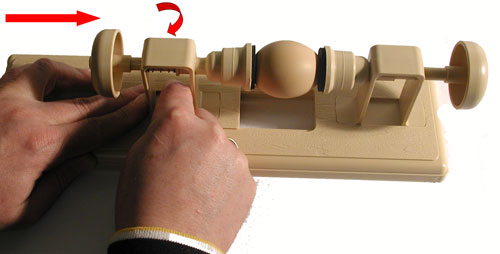 |
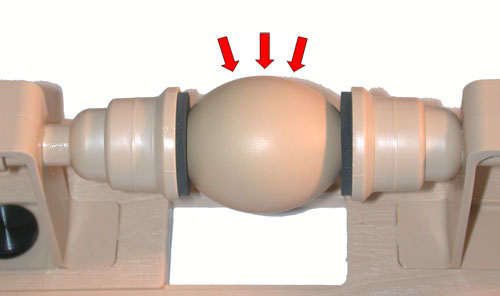
LOCK IN THE EGG
With one hand slide the movable half in, compressing the spring and
applying pressure to hold in the egg. With the other hand, turn the thumb
screw clockwise until it is tight. The egg should now be securely held
between the 2 washers in the lathe. |
 |
ALIGN THE EGG
This is the most important step, take your
time and do this step well.
Rotate the egg in the lathe and observe the top edge. It should not
move up or down or wobble in the spindle as you spin it. If it does, slightly
adjust the position of the egg and retest the alignment. If correctly
seated , you should see almost none or very little movement as you turn
the egg in the lathe. |
 |
DRAWING LINES
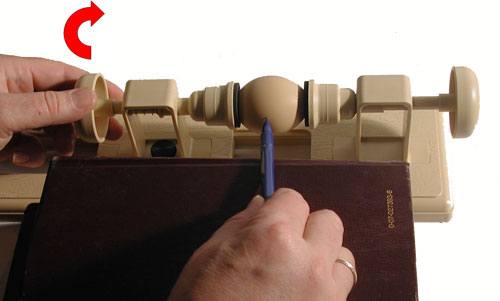
If you have a steady hand, you can apply your wax lines directly.
However,
I like to first draw my major partition lines with a fine pencil. You
can also rest your palm on one of the plastic supports. If this is
uncomfortable, try placing
a few large books level with the middle of the egg. This provides a
nice tool
rest as well as support for your hand and wrist. Place the pencil flat
book, placing the tip on the egg while rotating the egg. If your egg is
straight, the end of the line will meet up to the starting point of the
line. |

