FIGURE 1 |
MATERIALS NEEDED
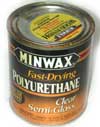
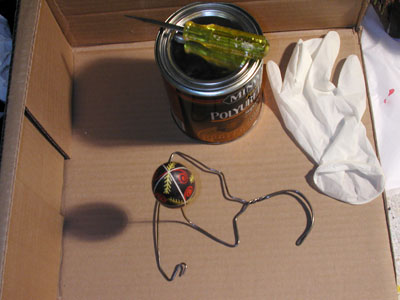
You need to collect a few items, a can of oil based Polyurethane,
disposable gloves , screwdriver, drying
stand and a cardboard box. Test your stand and make sure
you can slide the Pysanky over the rod easily. Also find a favorable
place to do this. You are working with flammable and noxious vapors. Read
the precautions on the can of the Polyurethane before you start. Consider
finding a room with no open flames, good ventilation and a low dust environment.
|
|
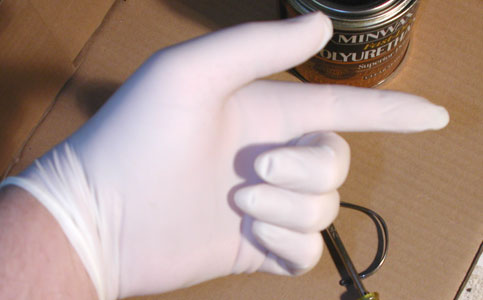
FIGURE 2 |
STEP 1
PUT ON A GLOVE
You only need one disposable glove, so put it on now and then
proceed on to the next step. Don't let the gloves make you nervous, there
are no physicians on the website. |
|
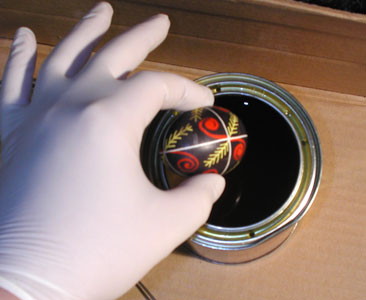
FIGURE 3 |
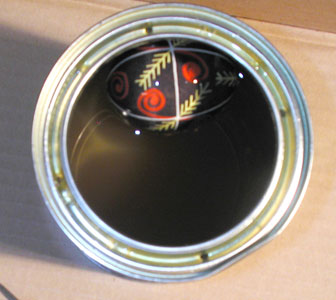
FIGURE 4 |
STEP 2 COAT THE EGG
Drop the Pysanky carefully in the can of Polyurethane (FIGURE 3).
It will float (FIGURE 4). Either push it down under the surface or rotate
the egg so that the entire surface is coated completely. |
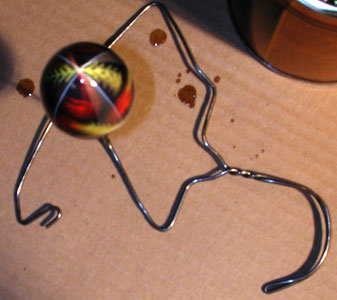
FIGURE 5 |
STEP 3 MOUNT AND SPIN
Pick up the Pysanky from the can, allowing any excess to drain off back
into the can. Place the egg on the wire stand and give it a spin.
The motion will evenly distribute the coating over the surface of the egg
and any excess will drain down the center pole onto the cardboard. |
|

FIGURE 6 |
STEP 4 DRY
Allow it to completely dry overnight before removing the egg.
You may encounter that a crust has formed at the base of the egg, gluing
it to the stand. Carefully twist the egg and it should break loose. Peal
off any excess that may have hardened. After you remove the egg, cautiously
scrape off any hardened varnish from the stand with a knife so the stand
will be ready to be used for the next Pysanky.
|
|

