 |
STEP 1
WASH YOUR HANDS
Sounds simple enough, but very important. You may think your
hands are clean, but chances are they are not. Dirt and especially
natural skin oils will prevent the dyes from penetrating the shell.
Wash, rinse and thoroughly dry your hands. Do it twice if you had recently
applied hand lotion. I had a lady in my class who just couldn't get her
egg to take the dye. I knew the dyes and eggs were ok, because every one
else was fine. So I looked at her hands and they were covered in
hand creme.
|
|
 |
STEP 2
KNOW WHERE YOUR PETS ARE
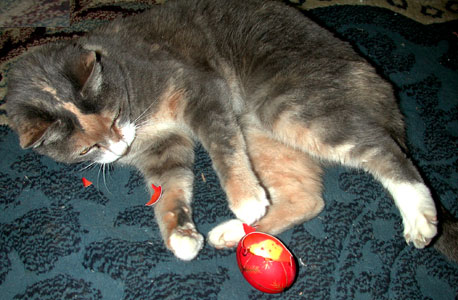
Put the cat out. Chain the dog. More Pysanky are lost every year to curious
cats, hungry puppies and small children with Nerf guns.
|
|
 |
STEP 3
CHOOSE AN EGG
Now get an egg. It needs to be in good condition, void of chicken droppings
and at room temperature. If you forgot to take them out earlier, take them
out now and wait a few hours for them to warm up. Don't put them
in the oven and for heaven's sake don't boil them. For this exercise, we
are assuming that you are using whole eggs. If you want to use a blown
egg, you can, but there are some tricks to be done when you put them in
the dyes and we won't be discussing them here. If you have not
yet read our tips on choosing eggs, PLEASE
CLICK HERE and read them now. |
|

FIGURE 1 |

FIGURE 2 |
STEP 4
THE BASIC EGG DIVIDE
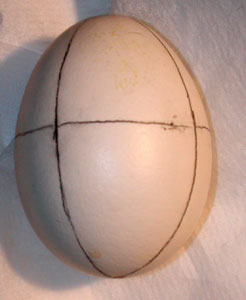
After you have chosen your perfect egg, our next step is to draw some basic
guidelines on the egg. Its not cheating, but just common sense. Even the
most experienced carpenters use a pencil and a square to mark where
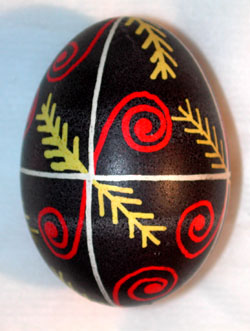
they cut the wood. We want to divide our egg into 8 sections (Figure 1).
As you can see in the final egg (Figure 2) , these are the white lines.
Also notice that the other symbols on the egg, such as the evergreens and
curls are centered at the intersection points, so these lines are more
than part of the design. Take your time and do it right. If it takes a
few eggs to practice on, its worth the effort.
CLICK
HERE to learn how to sketch your divisions. |
|


